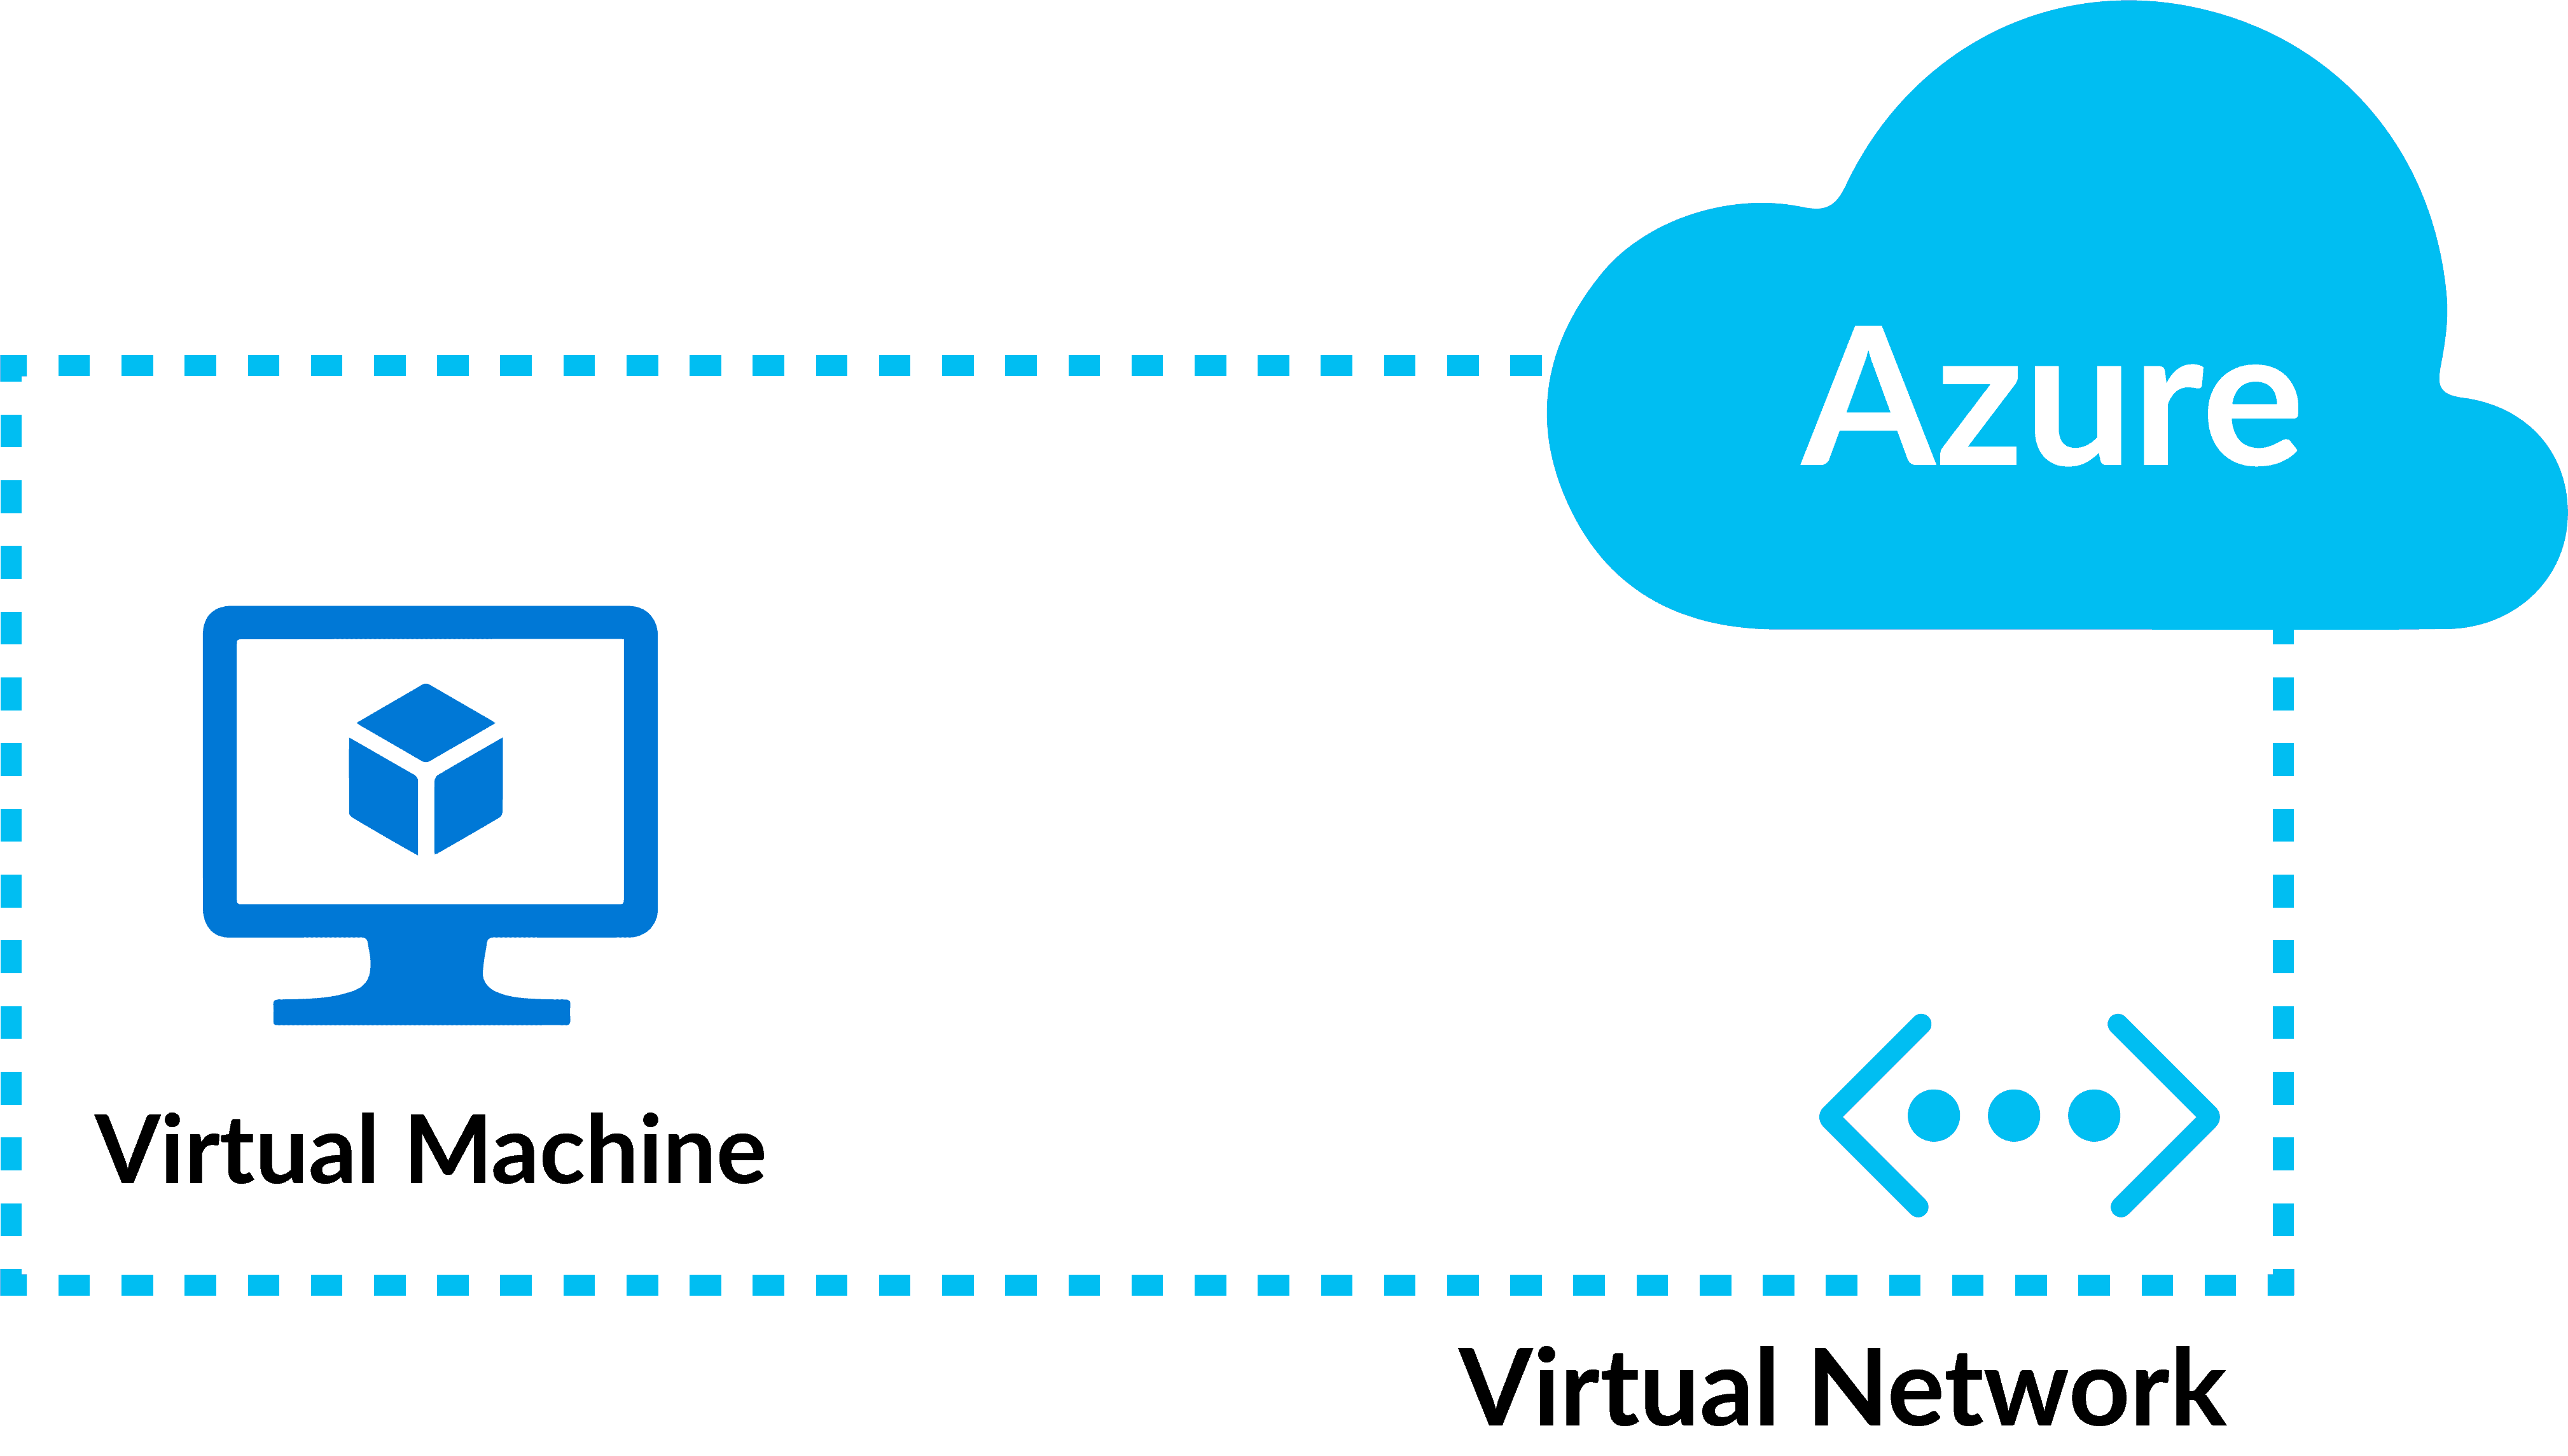
A practical article covering concepts, deployment steps, security, cost control and operations.
1. What Is an Azure Virtual Machine?
An Azure Virtual Machine (VM) is an on-demand, scalable computing resource hosted in Microsoft's cloud. It behaves like a physical server: you choose the operating system (Windows or Linux), CPU, memory, storage and network, and you control what is installed on it. Azure runs the physical hardware, the datacenter, power, cooling and the hypervisor; you manage the guest OS, applications and data.
Azure VMs are an Infrastructure as a Service (IaaS) offering. That means you get maximum control, but you also take on responsibility for patching, configuration and security of the OS.
When should you use a VM?
- Lifting and shifting existing on-premises servers to the cloud
- Running software that needs full OS access or custom drivers
- Dev/test environments you can create and delete quickly
- Hosting apps that are not suited to PaaS services such as App Service or Azure Functions
- High-performance computing, GPU workloads, databases with special tuning
If you do not need OS-level control, consider PaaS options first (App Service, Azure SQL, Container Apps), because they reduce management work.
2. Core Concepts You Must Understand First
Before creating a VM, understand the building blocks. Every VM is really a bundle of related resources.
- Subscription. The billing and access boundary. All your resources live inside one.
- Resource group. A logical container for related resources (the VM, its disk, NIC, IP and so on). Deleting the resource group deletes everything inside it, which makes cleanup easy.
- Region. The geographic location (for example, Central India, South India, East US). Choose the region closest to your users, and check that your required VM size and services are available there. Region also affects price and compliance.
Availability options describe how Azure protects your VM from failure:
- No infrastructure redundancy: single VM, fine for dev/test.
- Availability zone: your VM is placed in a physically separate datacenter within the region. Protects against a datacenter failure.
- Availability set: spreads VMs across fault domains (separate racks) and update domains (separate maintenance groups) inside one datacenter.
- Virtual Machine Scale Set (VMSS): automatically manages a group of identical VMs that can scale in and out.
Other key building blocks:
- Image. The template used to build the VM's OS disk, for example Ubuntu Server 22.04 LTS or Windows Server 2022. Images come from the Azure Marketplace, your own custom images, or Azure Compute Gallery.
- VM size. The CPU, RAM, temporary storage and network capacity (see Section 3).
- Disks. The OS disk plus optional data disks, stored as managed disks (see Section 4).
- Virtual network (VNet) and subnet. Your private network in Azure. The VM connects to a subnet through a network interface.
- Network interface (NIC). The virtual network card that gives the VM a private IP address.
- Public IP address. Optional. Needed if you want to reach the VM directly from the internet.
- Network security group (NSG). A firewall made of allow/deny rules that filters traffic to the subnet or NIC.
3. Choosing the Right VM Size
Azure VM sizes are grouped into families. Picking the right family avoids paying for resources you do not need.
| Family | Series examples | Best for |
|---|---|---|
| General purpose | B, D, Dasv5 | Balanced CPU/memory: web servers, small databases, dev/test |
| Compute optimized | F | High CPU ratio: batch processing, gaming servers, web front ends |
| Memory optimized | E, M | Large memory: in-memory databases, SAP, analytics |
| Storage optimized | L | High disk throughput: big data, NoSQL, data warehouses |
| GPU | N | Graphics rendering, machine learning, video encoding |
| High performance compute | H | Scientific simulation, modeling |
How to read a name such as Standard_D4s_v5: D is the family, 4 is the number of vCPUs, s means it supports premium SSD storage, and v5 is the hardware generation.
Beginner tip: For learning and light workloads, the B-series (burstable) is the cheapest. It runs at a low baseline CPU and accumulates credits that it spends during bursts. Do not use it for sustained heavy CPU load.
4. Understanding VM Storage
Azure VMs use managed disks, where Azure handles the storage accounts and replication for you.
- OS disk. Holds the operating system. Every VM has one.
- Data disks. Optional extra disks for applications and data. Keeping data off the OS disk makes backup, resizing and migration easier.
- Temporary disk. Local, fast storage on the host (
D:on Windows,/dev/sdbon Linux). Data here is lost when the VM is redeployed or moved to a new host. Use it only for page files, caches and scratch data.
Disk types, from cheapest to fastest:
- Standard HDD: lowest cost, for backups and infrequent access.
- Standard SSD: consistent performance for web servers and light dev/test.
- Premium SSD: high performance for production workloads and databases.
- Premium SSD v2 / Ultra Disk: very high IOPS and low latency for demanding databases, with adjustable performance independent of size.
5. Creating a VM Using the Azure Portal (Step by Step)
This is the most visual method and the best way to learn.
Step 1: Sign in
Go to portal.azure.com and sign in with your Microsoft account. You need an active subscription. New users can start with a free account that includes credits and some free monthly VM hours.
Step 2: Start the creation wizard
In the search bar, type Virtual machines, open it, then click Create > Azure virtual machine.
Step 3: Configure the Basics tab
- Subscription: select the one you want billed.
- Resource group: click Create new and give it a name such as
rg-demo-vm. - Virtual machine name: for example
vm-web-01. Use a consistent naming convention. - Region: choose the closest suitable region.
- Availability options: pick Availability zone for production, or No infrastructure redundancy required for a lab.
- Security type: keep Trusted launch virtual machines (secure boot and vTPM) unless your image does not support it.
- Image: for example Ubuntu Server 22.04 LTS or Windows Server 2022 Datacenter.
- Size: click See all sizes and select, for instance,
Standard_B2sfor a small test. - Authentication:
- Linux: choose SSH public key (more secure than passwords). Let Azure generate a key pair and download the
.pemfile when prompted. Keep it safe; you cannot download it again. - Windows: set a username and a strong password (12+ characters).
- Linux: choose SSH public key (more secure than passwords). Let Azure generate a key pair and download the
- Inbound port rules: select Allow selected ports and choose SSH (22) for Linux or RDP (3389) for Windows. Note that exposing these to the whole internet is risky; Section 9 explains how to lock this down.
Step 4: Configure the Disks tab
- Choose the OS disk type (Premium SSD for production, Standard SSD for testing).
- Leave Delete with VM checked for the OS disk in lab scenarios so you do not pay for orphaned disks.
- Click Create and attach a new disk if you need a data disk, and choose its size and type.
- Encryption at rest with platform-managed keys is on by default. You can switch to customer-managed keys for stricter compliance.
Step 5: Configure the Networking tab
- Virtual network: create new or select an existing one.
- Subnet: choose the appropriate subnet.
- Public IP: keep one if you need direct access, or choose None for a private-only VM (best for production behind a load balancer or bastion).
- NIC network security group: choose Basic for simple setups or Advanced to use a custom NSG.
- Accelerated networking: enable it when the size supports it for lower latency and higher throughput.
- Load balancing: optionally place the VM behind an Azure Load Balancer or Application Gateway.
Step 6: Management tab
- Microsoft Defender for Cloud: enable for threat protection.
- System-assigned managed identity: turn on if the VM needs to access other Azure services (Key Vault, Storage) without storing credentials.
- Auto-shutdown: very useful for dev/test. Set a daily time so you stop paying for compute when you are not using it.
- Backup: enable Azure Backup with a policy (daily is typical).
- Patch orchestration / Update management: configure automatic guest OS patching.
Step 7: Monitoring and Advanced tabs
- Boot diagnostics: keep enabled; it helps troubleshoot VMs that will not boot.
- Guest OS diagnostics / Azure Monitor: enable metrics and logs as needed.
- Advanced tab: use Custom data or Extensions to run a script at first boot, for example installing Nginx.
- Tags tab: add tags such as
env=dev,owner=yourname,cost-center=1234. Tags make cost tracking and governance much easier.
Step 8: Review and create
Click Review + create. Azure validates your settings. Fix any errors, review the estimated hourly price, then click Create. Deployment typically takes one to three minutes. When it finishes, click Go to resource.
6. Connecting to Your VM
Linux over SSH
- Open the VM's Overview page and copy the Public IP address.
- Set key permissions (macOS/Linux):
chmod 400 ~/Downloads/vm-web-01_key.pem - Connect:
ssh -i ~/Downloads/vm-web-01_key.pem azureuser@<public-ip>
Windows over RDP
- On the VM page, click Connect > RDP and download the RDP file.
- Open it, enter the username and password you set, and accept the certificate warning.
Azure Bastion (recommended for production)
Azure Bastion lets you open SSH/RDP sessions directly in the browser over TLS, with no public IP on the VM and no open management ports. In the VM page click Connect > Bastion, deploy it to a dedicated AzureBastionSubnet, and sign in. This is the safest connection method.
Serial console and Run Command
If networking is broken, the Serial console gives you text access. Run command lets you execute scripts through the Azure agent without logging in.
7. Creating a VM Using Azure CLI (Repeatable and Scriptable)
The CLI is ideal for automation. Install Azure CLI or use Cloud Shell in the portal.
# 1. Sign in and choose your subscription
az login
az account set --subscription "<subscription-id>"

# 2. Create a resource group
az group create --name rg-demo-vm --location centralindia

# 3. Create the VM (Ubuntu, SSH keys auto-generated)
az vm create \
  --resource-group rg-demo-vm \
  --name vm-web-01 \
  --image Ubuntu2204 \
  --size Standard_B2s \
  --admin-username azureuser \
  --generate-ssh-keys \
  --public-ip-sku Standard

# 4. Open port 80 for a web server
az vm open-port --resource-group rg-demo-vm --name vm-web-01 --port 80

# 5. List VMs and their IPs
az vm list-ip-addresses --resource-group rg-demo-vm --output table
What each part does: az group create makes the container; az vm create provisions the VM plus a VNet, subnet, NIC, public IP and NSG if you do not supply them; az vm open-port adds an NSG rule.
Add a data disk:
az vm disk attach \
  --resource-group rg-demo-vm \
  --vm-name vm-web-01 \
  --name datadisk01 \
  --new --size-gb 64 --sku Premium_LRS
8. Post-Deployment Configuration
Initialize and mount a data disk (Linux)
lsblk                                  # find the new disk, e.g. /dev/sdc
sudo parted /dev/sdc --script mklabel gpt mkpart xfspart xfs 0% 100%
sudo mkfs.xfs /dev/sdc1
sudo mkdir /datadrive
sudo mount /dev/sdc1 /datadrive
sudo blkid /dev/sdc1                   # copy the UUID
echo 'UUID=<uuid> /datadrive xfs defaults,nofail 0 2' | sudo tee -a /etc/fstab
The /etc/fstab entry makes the disk mount automatically after reboot. Using the UUID rather than /dev/sdc1 prevents problems when device names change.
Initialize a data disk (Windows)
Open Disk Management, initialize the new disk (GPT), create a new simple volume, assign a drive letter and format it as NTFS.
Install a web server (example)
sudo apt update && sudo apt install -y nginx
sudo systemctl enable --now nginx
Browse to http://<public-ip> to confirm it works. If it does not load, check the NSG for an inbound rule on port 80.
Update the OS
Always patch after first login: sudo apt update && sudo apt upgrade -y on Ubuntu, or Windows Update on Windows.
9. Securing Your VM
Security is the most common weakness in cloud VMs. Apply these layers:
- Do not expose management ports to the internet. Restrict SSH/RDP in the NSG to your own IP, or use Bastion or Just-in-Time (JIT) VM access from Defender for Cloud, which opens ports only on request for a limited time.
- Use SSH keys, not passwords, on Linux. Disable password authentication in
/etc/ssh/sshd_config. - Use network security groups with least-privilege rules. Deny everything by default and allow only needed ports.
- Enable disk encryption. Server-side encryption is on by default; add Azure Disk Encryption or encryption at host for stronger protection.
- Use managed identities instead of storing secrets in code. Store secrets in Azure Key Vault.
- Keep the OS patched using Azure Update Manager.
- Enable Microsoft Defender for Servers for vulnerability assessment and threat detection.
- Apply role-based access control (RBAC). Give people only the roles they need, such as Virtual Machine Contributor or Virtual Machine User Login.
- Use Azure Policy to enforce standards, such as allowed regions or required tags.
- Enable Trusted Launch (secure boot and vTPM) to protect against rootkits and boot-level attacks.
10. Networking in More Depth
- Private vs public IP. Every VM has a private IP inside the VNet. A public IP is optional. Use Standard SKU, static public IPs for production so the address does not change.
- NSG rules. Each rule has a priority (lower number is evaluated first), source, destination, port, protocol and an allow/deny action. Default rules allow VNet-internal traffic and outbound internet, and deny inbound internet.
- DNS. Azure provides internal name resolution inside a VNet. For public names, create an A record pointing to the public IP in Azure DNS or your registrar, or assign a DNS label to the public IP.
- Connecting networks. Use VNet peering to link VNets, VPN Gateway or ExpressRoute to connect to on-premises networks.
- Load balancing. Azure Load Balancer works at layer 4 (TCP/UDP). Application Gateway works at layer 7 (HTTP/HTTPS) with features like SSL termination and a web application firewall.
11. High Availability and Scaling
- Availability zones provide a 99.99% VM SLA when you deploy two or more VMs across zones. A single VM with Premium SSD or Ultra disks has a 99.9% SLA.
- Availability sets give a 99.95% SLA for two or more VMs.
- Scale sets (VMSS) add or remove identical VM instances automatically based on rules, such as CPU above 70% for 10 minutes.
- Vertical scaling means resizing to a larger or smaller size (the VM restarts). Horizontal scaling means adding more instances, which is preferred for resilient applications.
To resize in the portal: VM > Size > choose a new size > Resize. Some changes require stopping (deallocating) the VM first.
12. Backup and Disaster Recovery
- Azure Backup. Create a Recovery Services vault, define a policy (daily backup, retention for 30 days, for example) and assign the VM. Backups are application-consistent snapshots stored in the vault. You can restore the whole VM, individual disks, or single files.
- Snapshots. A point-in-time copy of a disk. Good for quick rollback before risky changes, but not a substitute for backup.
- Azure Site Recovery (ASR). Replicates a VM continuously to another region. If the primary region fails, you fail over to the secondary. Use it for business-critical workloads with strict recovery objectives.
Know your two targets: RPO (how much data loss you can tolerate) and RTO (how long you can be down). They decide which tools you need.
13. Monitoring and Troubleshooting
- Metrics. CPU, disk, network and memory (with the agent) are visible on the VM's Monitoring blade. Create alerts for conditions such as CPU above 85% or VM unavailable, and send them to an action group (email, SMS, webhook).
- Logs. Install the Azure Monitor Agent and a Data Collection Rule to send OS and application logs to a Log Analytics workspace, where you query them with KQL.
- VM Insights gives performance charts and a dependency map.
Common problems and fixes:
- Cannot connect: check the VM is running, the NSG allows your port and IP, the OS firewall is not blocking it, and the key/password is correct. Use Connection troubleshoot and IP flow verify in Network Watcher.
- VM will not boot: review Boot diagnostics screenshot and use the Serial console.
- Slow performance: check for CPU credit exhaustion on B-series, disk IOPS throttling, or an undersized VM.
- Disk full: expand the disk (deallocate VM, resize disk, then extend the partition and filesystem inside the OS).
14. Understanding VM States and Billing
| State | Compute billed? | Storage billed? | Notes |
|---|---|---|---|
| Running | Yes | Yes | Normal operation |
| Stopped (from inside the OS) | Yes | Yes | Azure still reserves the hardware |
| Stopped (deallocated) | No | Yes | Stop it from the portal or CLI to stop compute charges |
| Deleted | No | Only for disks and IPs you keep |
This is the most common beginner mistake: shutting down the OS from inside does not stop billing. Always use Stop in the portal (which deallocates) or az vm deallocate.
15. Cost Optimization
- Right-size. Review Azure Advisor recommendations and downsize underused VMs.
- Auto-shutdown and start/stop schedules for non-production machines.
- Reserved Instances (1 or 3 years) can save up to roughly 70% versus pay-as-you-go for steady workloads.
- Savings Plans for compute offer flexible discounts in exchange for an hourly spend commitment.
- Spot VMs use spare capacity at deep discounts, but Azure can evict them; use them for interruptible batch jobs.
- Azure Hybrid Benefit lets you bring existing Windows Server or SQL Server licenses and reduce cost.
- Delete unused resources: orphaned disks, unattached public IPs and old snapshots keep costing money.
- Use tags and Cost Management + Billing to track spend and set budgets with alerts.
For current prices, use the Azure Pricing Calculator, since rates vary by region and change over time.
16. Infrastructure as Code (Brief Overview)
Clicking in the portal is fine for learning, but production environments should be defined in code so they are repeatable and reviewable:
- Bicep or ARM templates: Azure-native declarative definitions.
- Terraform: multi-cloud tool using the
azurerm_linux_virtual_machineresource. - Azure CLI / PowerShell scripts: imperative automation.
A minimal Bicep idea: declare a VNet, NIC and VM resource, then deploy with az deployment group create --resource-group rg-demo-vm --template-file main.bicep. Store the files in Git and deploy through a pipeline.
17. Cleaning Up
To avoid surprise charges after a lab, delete everything in one step:
az group delete --name rg-demo-vm --yes --no-wait
Or in the portal: Resource groups > your group > Delete resource group, then type the name to confirm.
18. Best-Practice Checklist
- Use clear naming conventions and tags.
- Pick the right size and disk type for the workload.
- Deploy across availability zones for production.
- Use SSH keys or strong passwords, and never expose RDP/SSH openly.
- Prefer Bastion or JIT access.
- Enable Trusted Launch, Defender for Cloud and automatic patching.
- Keep data on separate data disks.
- Enable Azure Backup, and consider Site Recovery for critical systems.
- Configure monitoring and alerts from day one.
- Set auto-shutdown, budgets and cost alerts.
- Define infrastructure as code.
- Delete what you no longer need.
19. Conclusion
Azure Virtual Machines give you the flexibility of a full server with the elasticity of the cloud. The path is straightforward: understand the building blocks (resource group, VNet, NIC, disks, NSG), choose the right image and size, deploy through the portal or CLI, secure and patch the machine, protect it with backup, monitor it, and keep a close eye on cost. Master these steps and you can run everything from a small test server to a resilient, multi-zone production workload.
Note: Azure features, VM series names, SLAs and prices evolve. Verify specifics in the official Microsoft Learn documentation and the Azure Pricing Calculator before making production or budget decisions.